Study Bud
November 2023
StudyBud is a collaborative platform for students to create and participate in chat rooms about various programming topics. The application features Django for backend operations, PostgreSQL for database management, Docker Compose for containerization, Nginx for serving static files, AWS EC2 for hosting, and Cloudflare for DNS management.
Deployed at EC2: StudyBud
Features
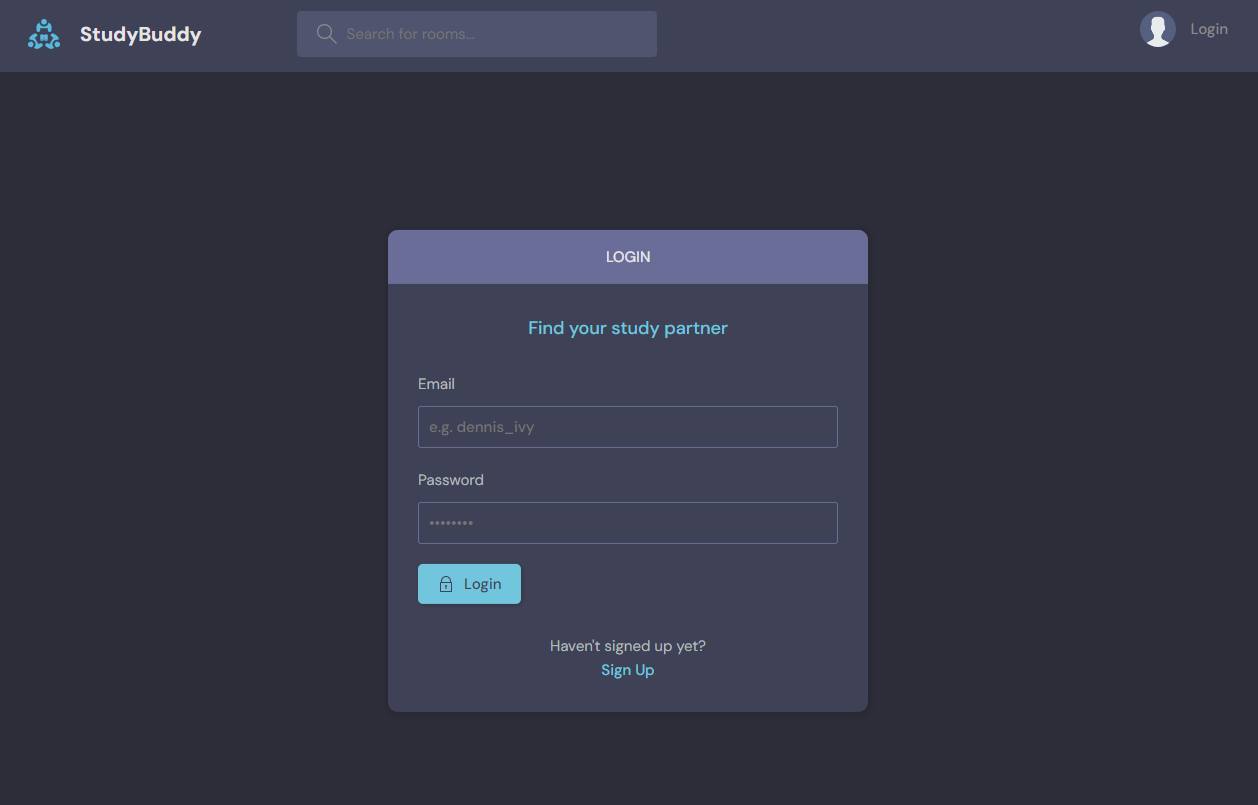
- User Registration and Authentication: Allows users to sign up and log in to access login-protected features.
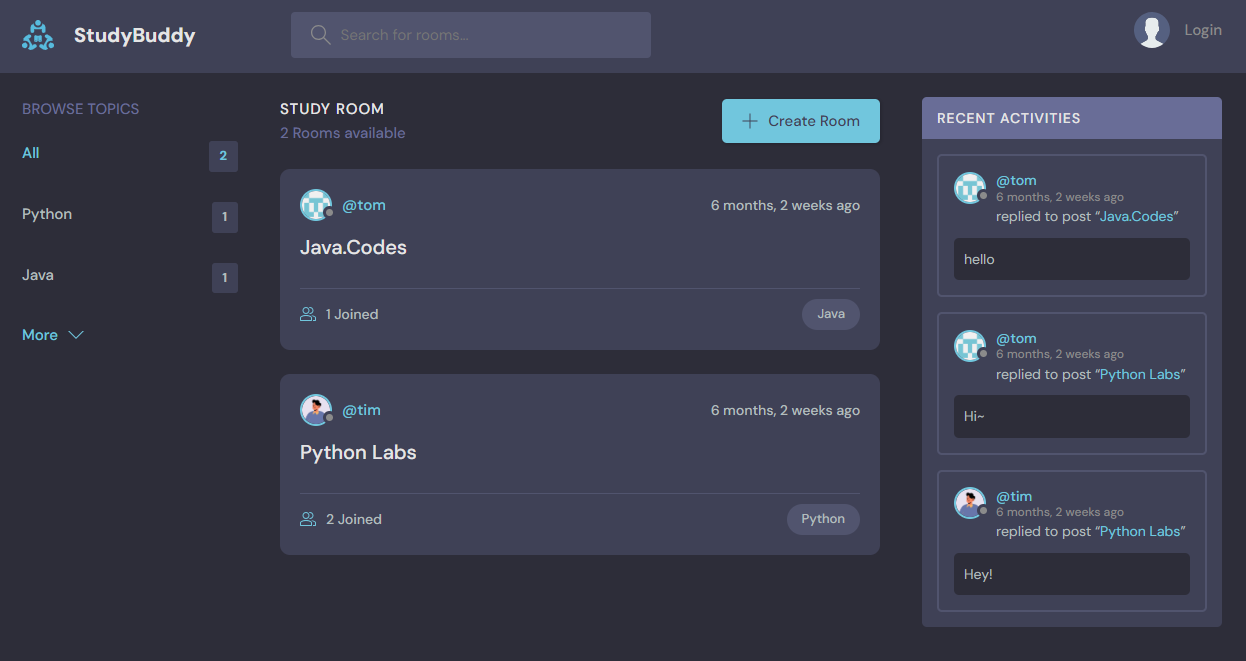
- Chat Room Management: Logged-in users can create, customize, and delete chat rooms with specific names, descriptions, and topics.
- Search and Filtering: Search for chat rooms by name or topic and apply filters to find rooms with specific topics.
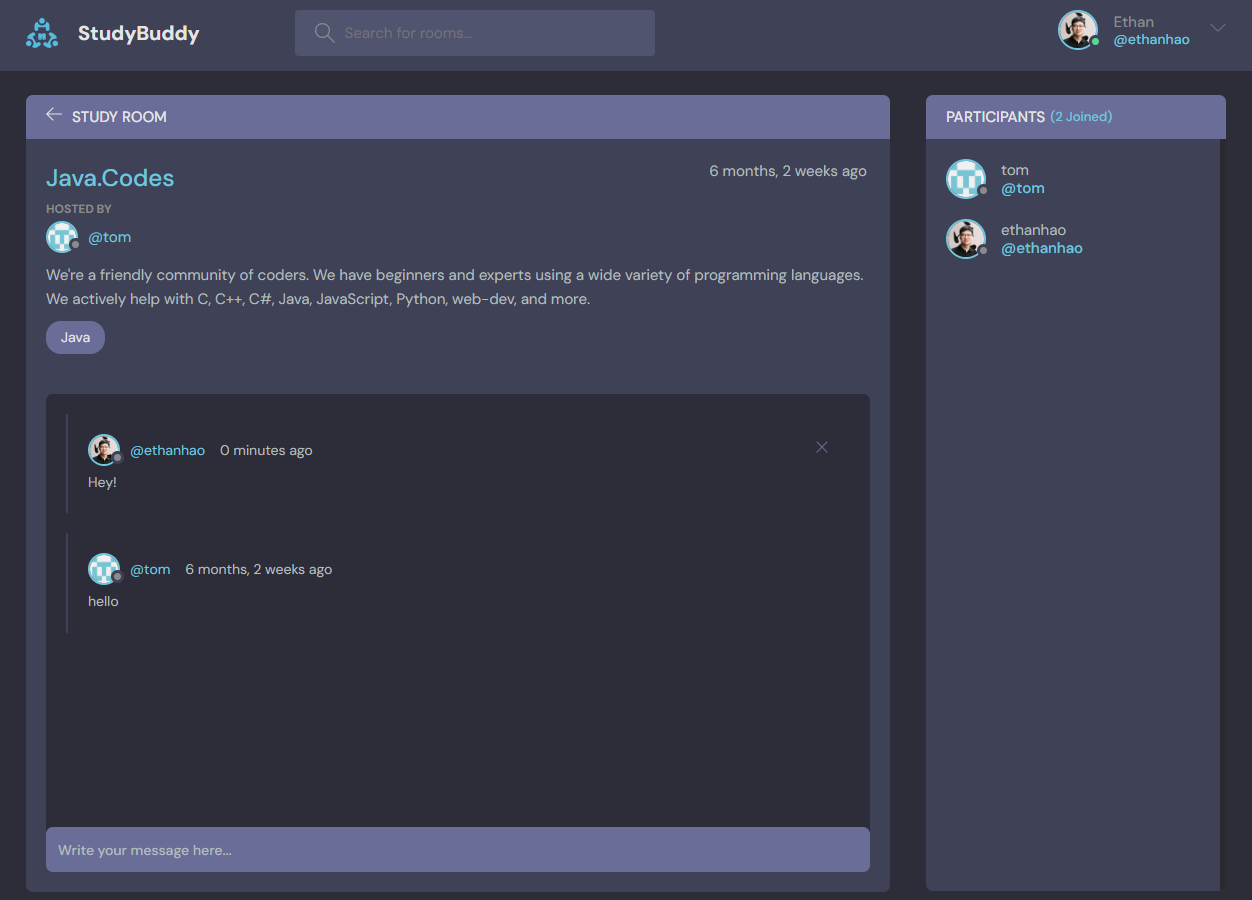
- Messaging: Enables users to send and receive messages within chat rooms.
- Responsive Web Design: Crafted using native HTML and CSS to ensure a seamless experience on all device sizes.
Technologies
- Django & Django REST Framework: For backend operations, rendering HTML pages, and providing API endpoints.
- PostgreSQL: Utilized for robust database management of user and chat room data.
- Nginx: Serves as a reverse proxy and aids in serving static files and images.
- Docker Compose: Simplifies deployment by containerizing the application, database, and Nginx server.
- AWS EC2: Hosts the application.
- Cloudflare: Manages DNS and enhances site security and performance.
Installation
Local Development
-
Clone the repository:
git clone https://github.com/ethan-yz-hao/StudyBud.git cd studybud -
Set up Environment Variables: Create a .env file in the root directory following the .env_example:
DB_NAME=dbname DB_USER=rootuser DB_PASS=changeme SECRET_KEY=changeme ALLOWED_HOSTS=127.0.0.1 CSRF_TRUSTED_ORIGINS=https://*.example.com -
Build and run with Docker Compose:
docker-compose up --build -
Access the application at http://localhost:8000.
Production Deployment
Follow the same steps as local development, but for step 3, use the production compose file:
-
Build and run in production mode:
docker-compose -f docker-compose-deploy.yml up --build -d -
Access the application at http://localhost:8000.